Land Rover: Problem with fuel line

After a lifetime of pumping gasoline into my cars, I’ll have to remember to pull up to the diesel pump. I thought it wouldn’t hurt to have a little reminder like the one in the photo below (not my truck).

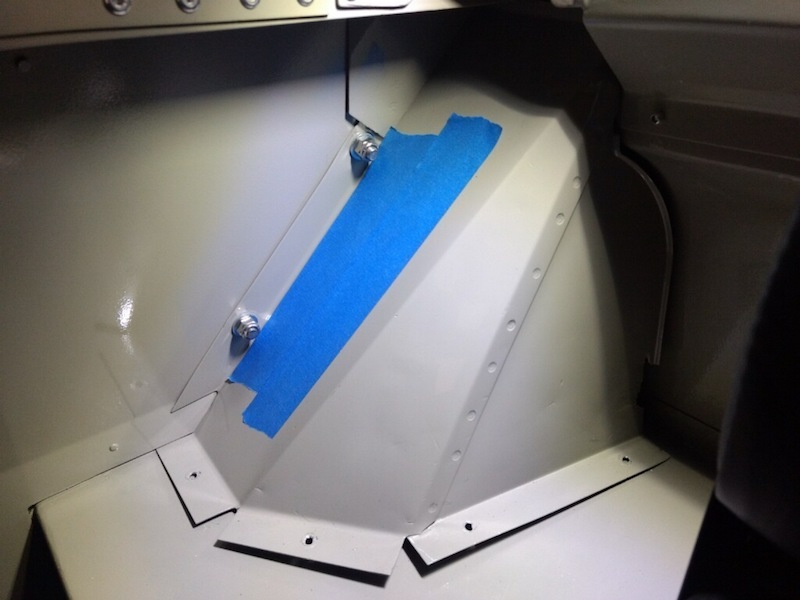
In order to add this little badge, Mr. Wolf had to remove a cowling inside the tub of the the truck.

“I am glad you sent me that Diesel Only emblem to install under the filler neck, because installing it meant I had to remove the cowling inside the truck that covers the filler neck, and when I removed it I found that where the rubber hose that connects the filler neck to the tank goes through the floor of the truck, the hose was pressed up against the edge of the opening, cutting into the hose. Then further down toward the tank the hose was severely kinked, which explains why I had such a hard time filling it with diesel the one time I fueled it up. Also, there was no gasket between the metal filler neck and the body. I can’t find one in any parts diagram, so maybe there wasn’t one originally, but I could see this being a water ingress point, so I am going to make a gasket for it.”

This is my first experience with a frame-off restoration but there sure seems to have been a lot of little (?) mistakes like this. All’s well that ends well.

Land Rover walk around

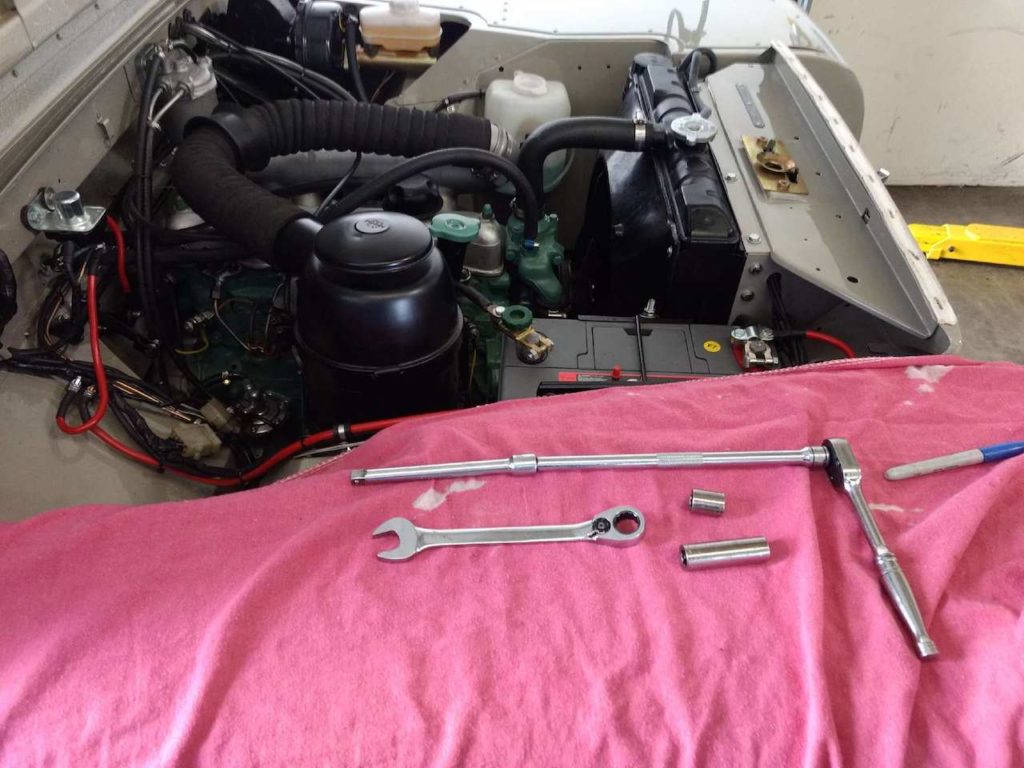
Mr. Wolf thought I’d like to hear the sweet sound of the 2.25 liter diesel engine that will drag my saggy ass around town. He’s been working long and hard on getting the engine right. If you look closely you’ll see some smoke. Not as much smoke as the mosquito fogger that patrolled our streets during the summer nights of my youth… but a little smoke. What the fuck, I’ll buy some carbon credits. I’m hoping there will be less smoke once the engine gets some miles on it. That will happen as soon as he gets the brakes sorted out.

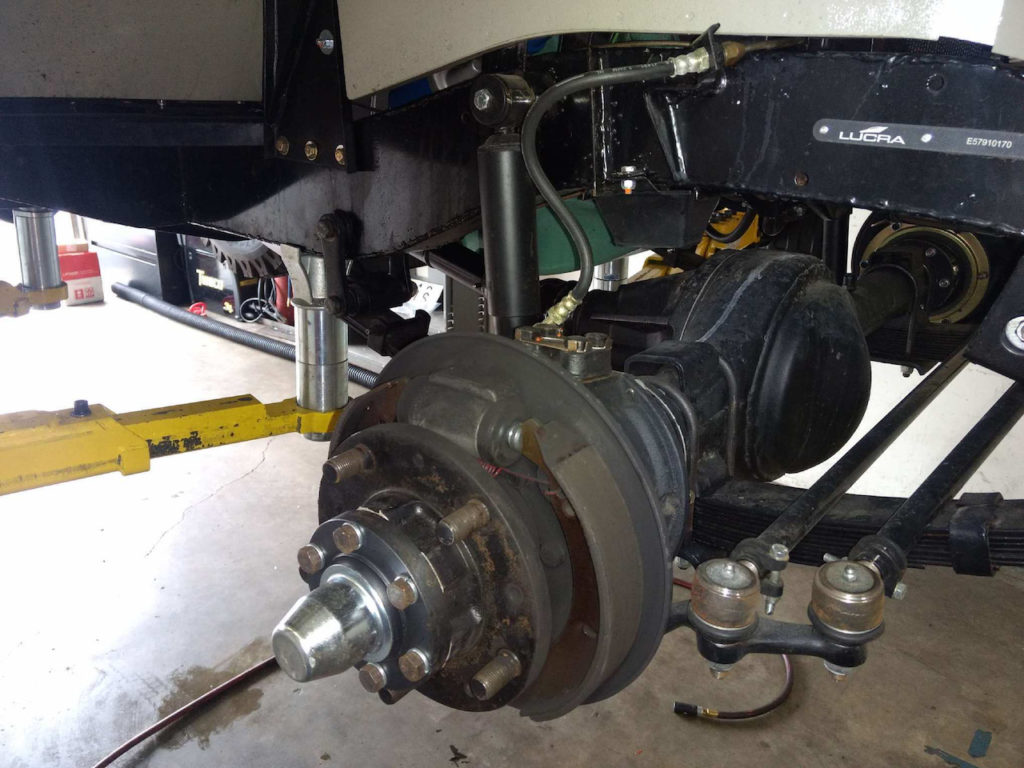
When I opened the brakes up I found some things I didn’t like, so I’ve ordered all new OEM wheel cylinders, new adjusters, and new shoes. Even high quality parts are so cheap for this thing I figured we should just start fresh with nice parts.

If you don’t know shit about old trucks, and I don’t, you need someone like Mr. Wolf. You’d like to think the folks doing the restoration would get everything right… but they don’t.

Land Rover Update

“Feeling good about the Rover right now. New injectors made a big difference, it’s running smoother and making more power. Many hours of fiddling with the injection pump may have paid off, better cold start and less smoke.”

The Land Rover project is about three months behind schedule, to the extent there was ever a schedule. The 2.25 liter diesel engine simply wasn’t performing the way Mr. Wolf thought it should. Too much smoke. Just not right. Until today the working assumption was a problem with the o-rings on the injectors.

“The ones that were in there originally seemed like they weren’t big enough (not a tight fit) but everything else I could find wouldn’t allow the injector to fit in the bore. Given that the actual injector seal is accomplished by a copper sealing washer AND an aluminum crush-washer, I think the o-ring is really only there to keep debris from falling in. Therefore I’m thinking that the slightly loose fit is actually just fine, but I’m open to being proven wrong. So I reassembled it with the old o-rings.”

Whether or not I’ll be able to find someone to keep a 40 year old diesel engine running well enough to make the Land Rover an everyday truck remains to be seen. Which is why Mr. Wolf is going to such great pains to get the engine right before he send the truck my way. But this has always been more about fun than easy.

It’s been a long time since I drove a car (or truck) without power steering or brakes. The Land Rover has neither and I’ve been told it’s like learning to drive all over again. With that in mind, Mr. Wolf is giving extra attention to the brakes on my truck. Adjusting drum brakes is something of an art, I’m told.

2017: Year of the Truck

The Land Rover Adventure that started on May 1st will spill over into 2018. A few elements of the restoration were not up to Mr. Wolf’s high standards.

“One injector was not sealed correctly, and I think all four were missing the “nozzle washer”. I’ve ordered all new seals, and in the meantime I had a friend drive the injectors over to Diamond Diesel for testing because I was too impatient for shipping. Yep, all four were bad. I’m having them do a fancy rebuild and calibration rather than rolling the dice on some cheap remanufactured units. I am hoping (and hopeful!) that this will resolve the smoking issue.”

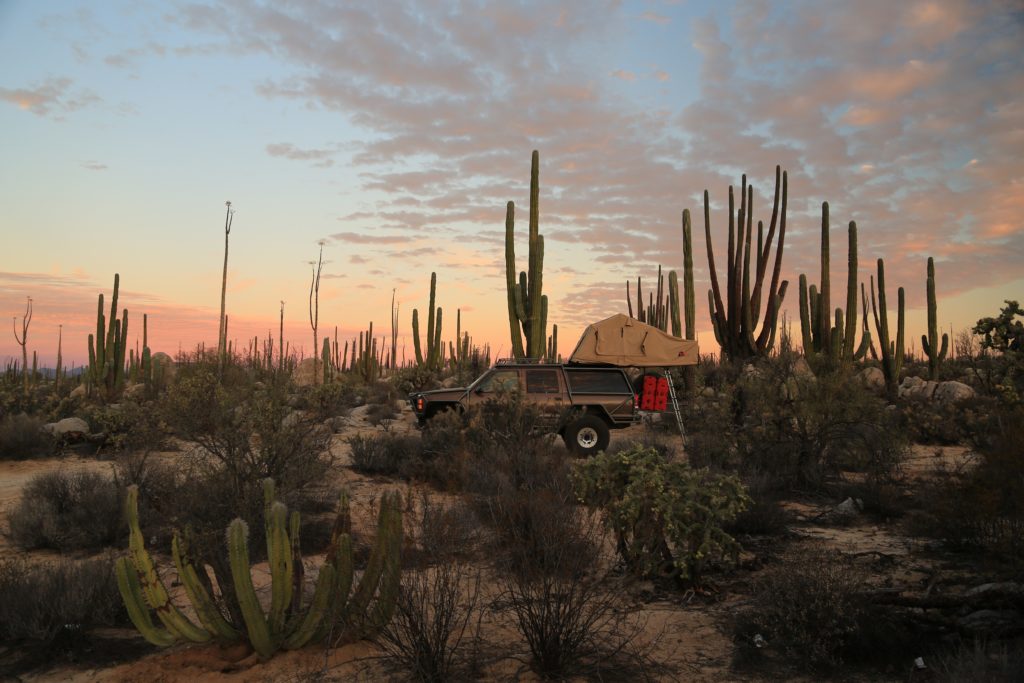
The injectors are and the new seals are installed but it turns out they use “an O-ring that is some goofy size” that had to be ordered. In the meantime, Mr. and Mrs. Wolf are headed down to Baja for a couple of weeks of camping so work on the truck resumes in 2017.

It’s been a journey. Almost bought a truck from the Cool & Vintage guys (Portugal); seriously considered Arkonik (UK); and wound up in the capable, Master Mechanic hands of Grayson Wolf.

I’ve been thinking about what I’d tell someone considering purchasing a vintage Land Rover (frame off restoration). They’re expensive, of course, but you can’t be in a hurry. And if you know almost nothing about older vehicles, you need a guide. Someone to keep you from making a very expensive mistake.

If all goes well I expect to meet Mr. Wolf next month and get my hands on the truck. Mr. Wolf is shooting for nothing less than perfection and I think he’ll achieve that.

Land Rover Santana

Santana Motor S.A. was a Spanish car manufacturer based in Linares, Spain. The company originally manufactured agricultural equipment but decided to expand beyond its original products line and entered into talks with the Rover car company in 1956 in an attempt to get a licensing agreement to build Land Rover Series models in their factory. An agreement was reached in 1956 and production began in 1958 it was licensed to build Land Rover models. (Wikipedia)

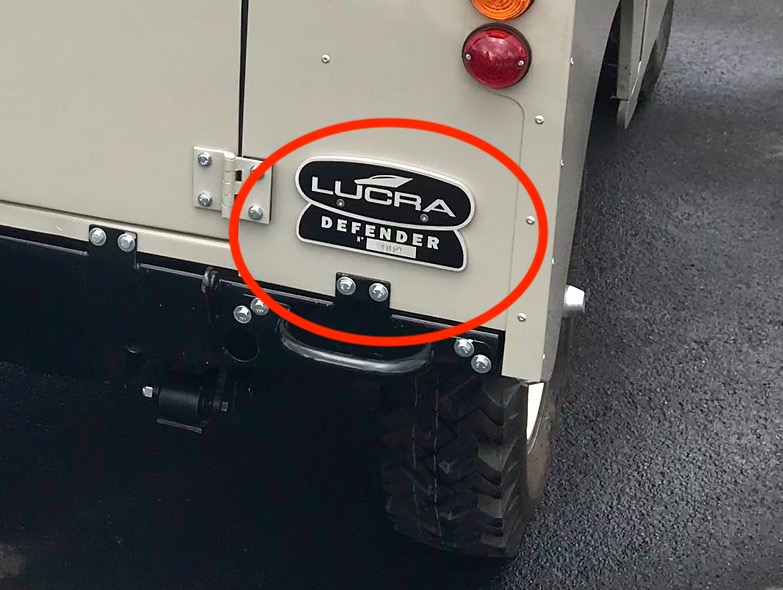
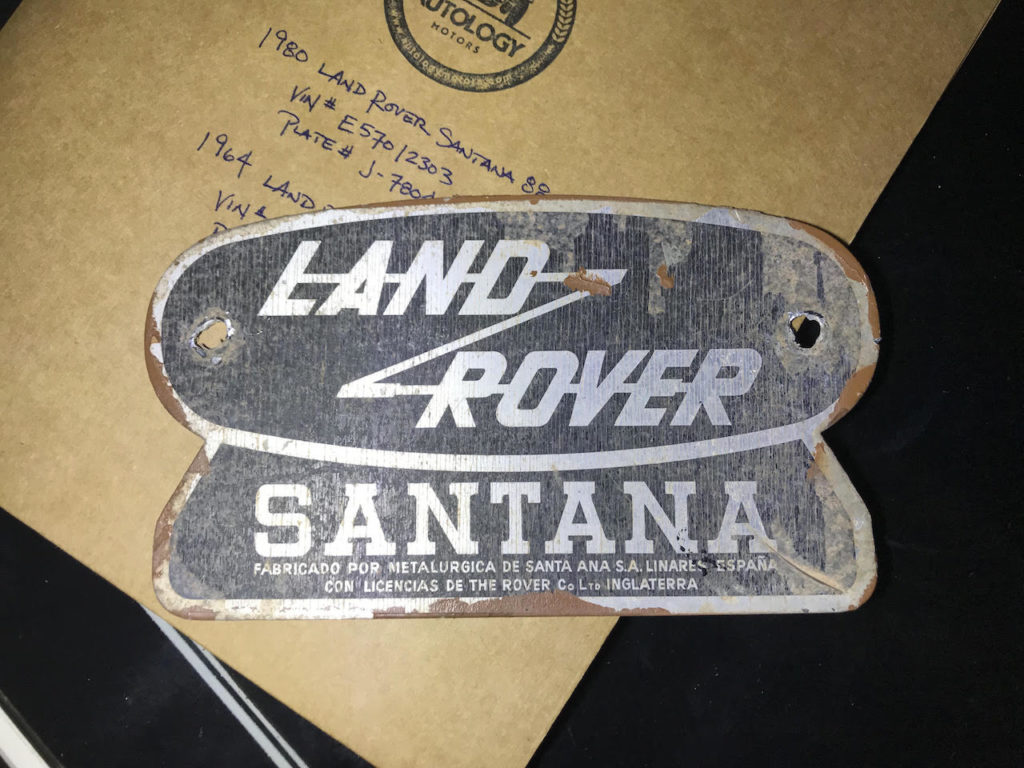
The guys at Lucra Cars replaced the original Land Rover Santana badge on my truck with a custom badge that — incorrectly — identifies my truck as a Defender model. Not a big deal but I’ve been looking for an original badge and found one with the help of Paul Misencik at Autology Motors. That this matters to me (even a little) suggests I’m becoming a Land Rover guy.

Land Rover back in Bay Area

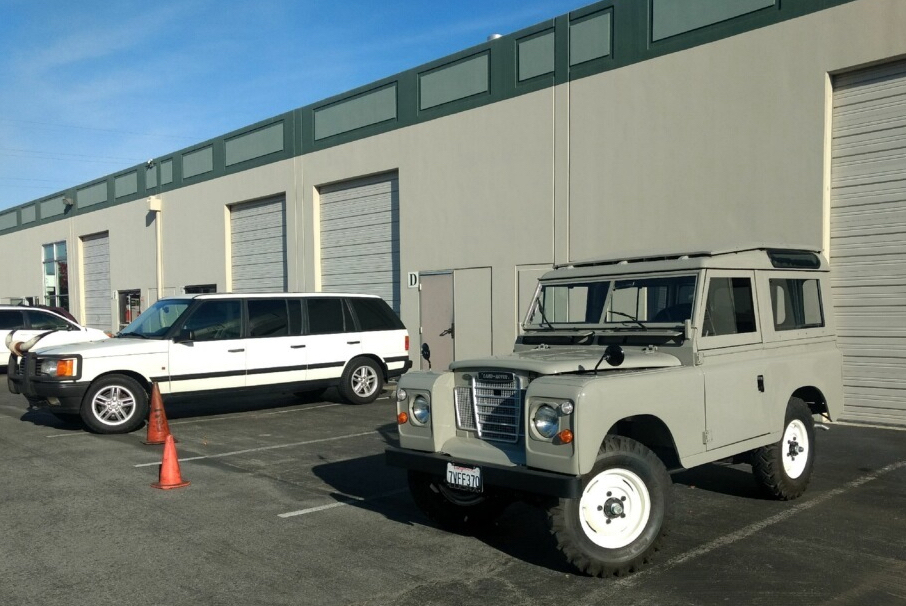
We’ve entered the penultimate phase of The Great Land Rover Project. The final phase being me driving it back and forth to the coffee shop every day. The restoration phase (parts 1 and 2) are done and now Mr. Wolf drives the truck until he’s found and fixed all those little things that show up after a frame-off restoration. While this is underway I plan to go out to SF for a weekend to finally meet Mr. Wolf and discuss care and feeding. Then its one final trip from the Left Coast to Hooterville. To be continued.

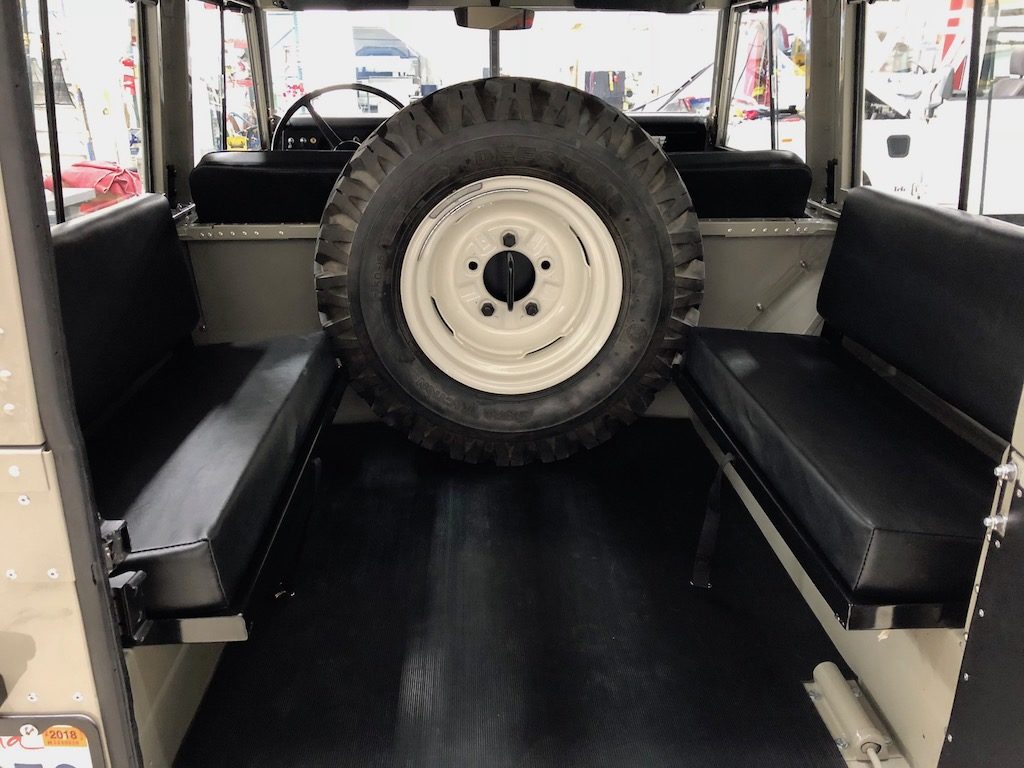
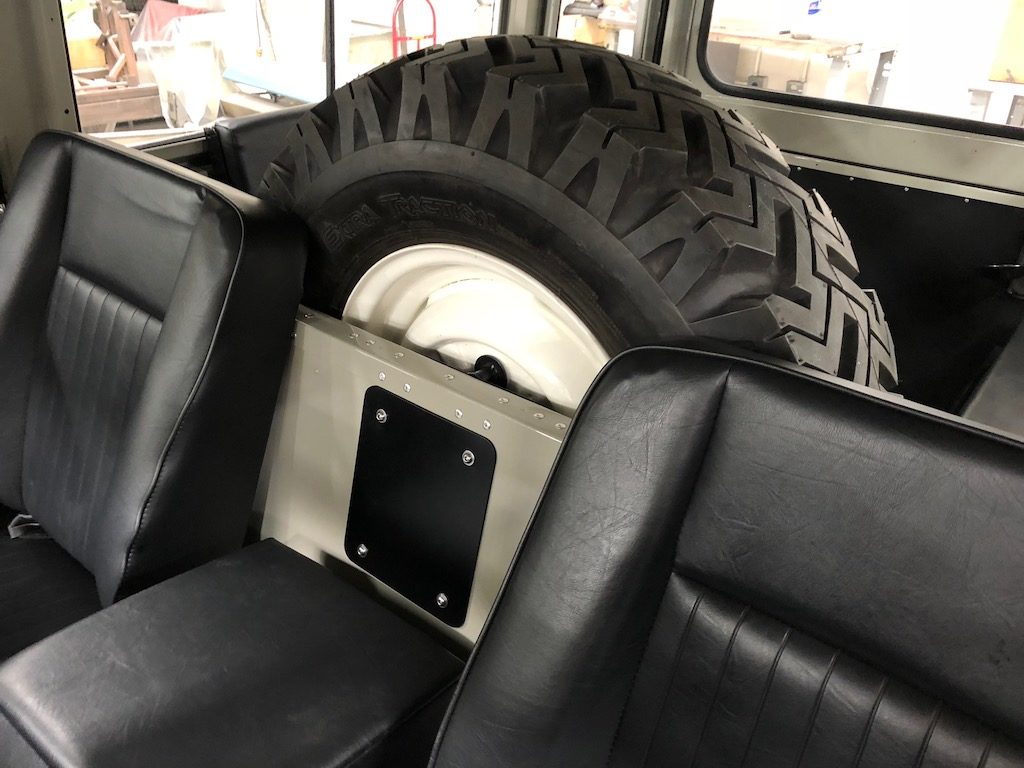
Spare tire in “the tub”

Very pleased with the spare tire mounted in the “tub” of the Land Rover. The bottom photo makes it appear to take up more space than it does. It was either here or on a swing-arm at the back of the truck. I prefer this. And the rear seats will be replaced with a couple of custom cushions (and no back).

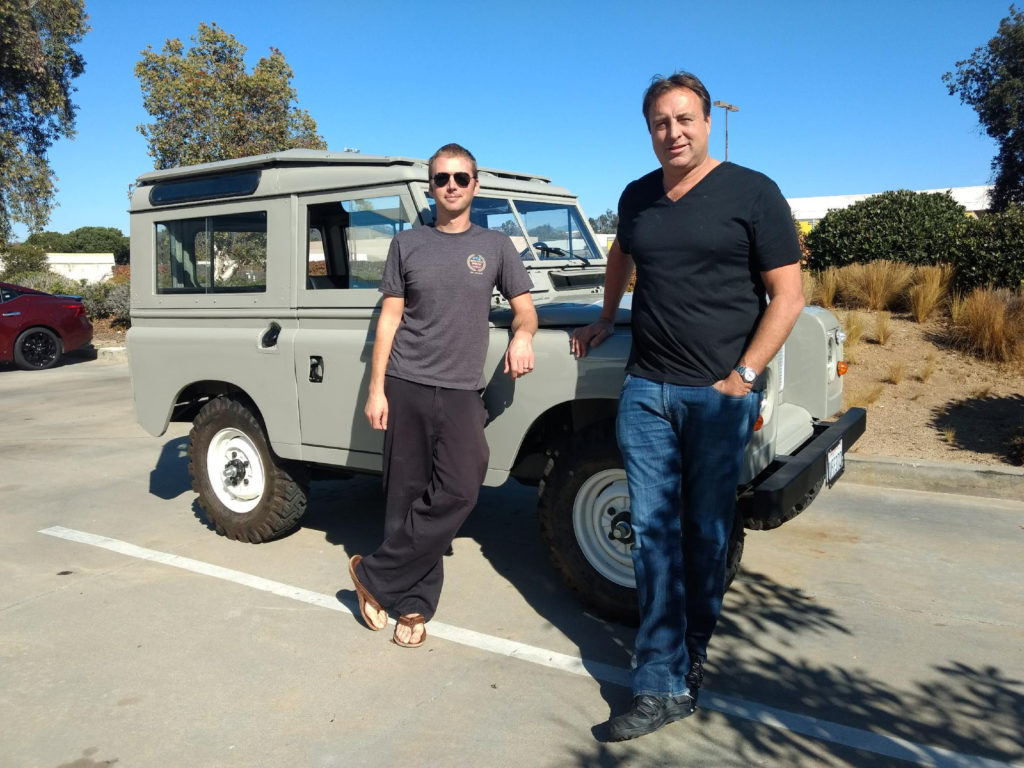
Grayson Wolf and Luke Richards

Big day for The Land Rover Project. Mr. Wolf (left) is in San Marcos doing a final inspection on the truck. Luke Richards (right) was in charge of the restoration. Assuming the truck does well on this afternoon’s test drive, it’s back to the Bay Area for the final shakedown cruise.

UPDATE: Okay. Looks like the restoration is done and the truck will head for Mr. Wolf’s garage before the end of the month. Not sure how long he’ll need to “break it in” but I’m hoping to have it before the end of the year.

Land Rover spare tire

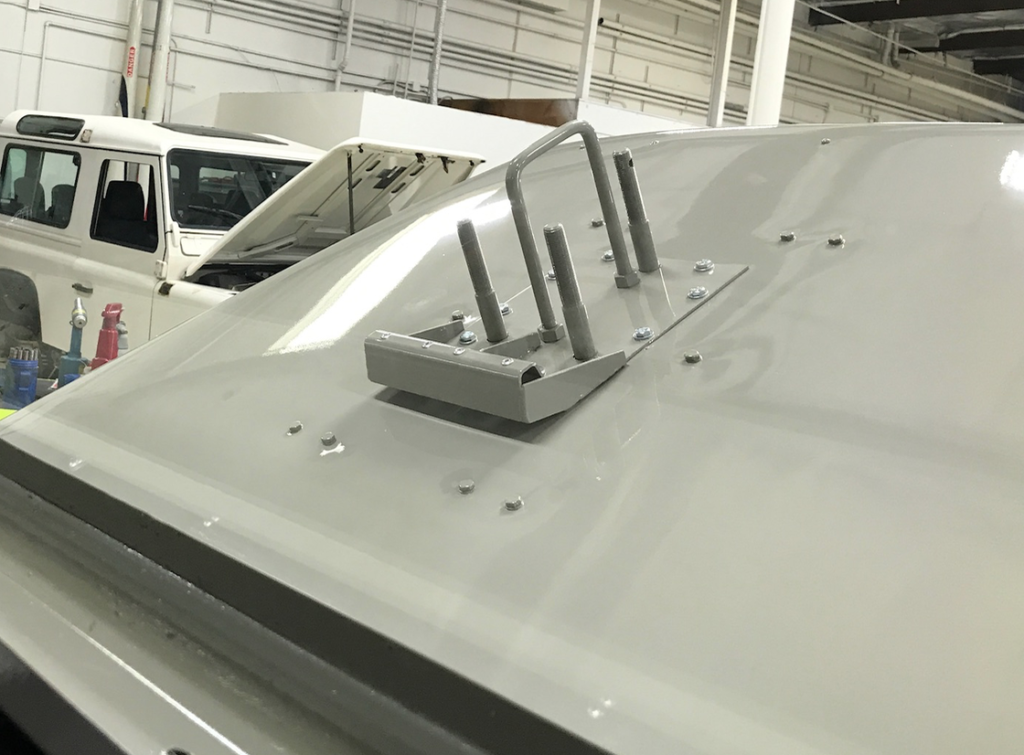
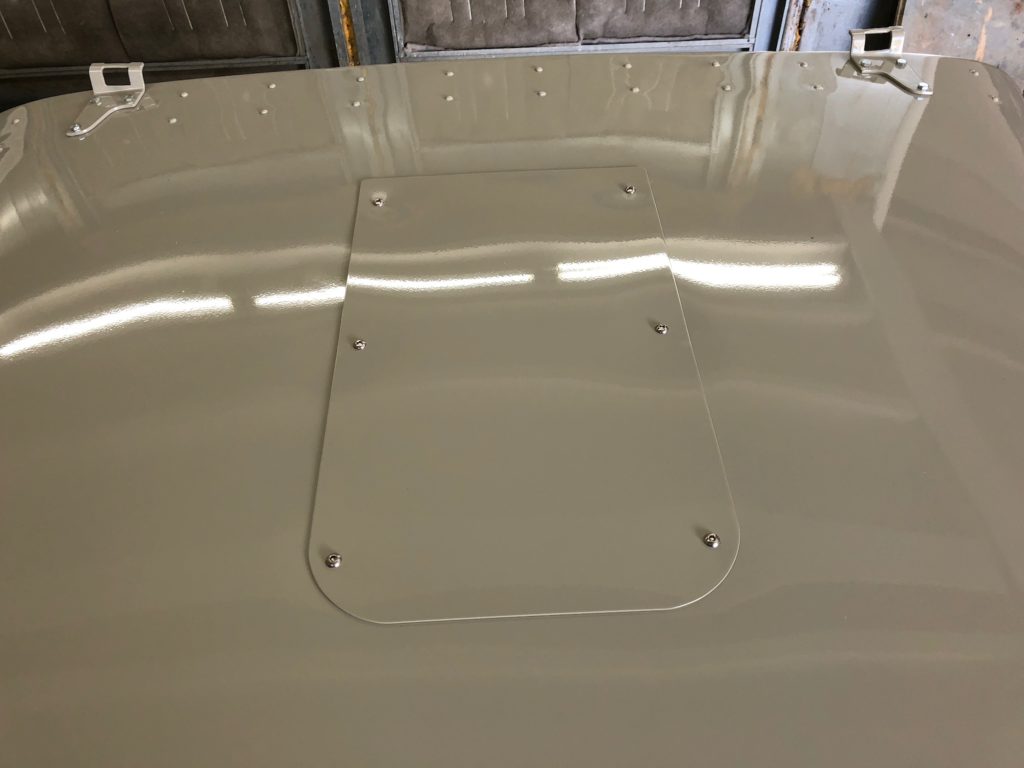
Everyone agreed having the spare tire on the bonnet (hood) of the Land Rover looked cool… but it was just too heavy (for me). But removing the mount left some ugly holes. I’m pleased to report the guys at Lucra Cars came up with a nice solution.

If some future owner (assuming I won’t live forever) wants to put the spare back on the bonnet, he/she can remove these six bolts, attach the mount, and put the spare back where the Land Rover gods intended.

Moving spare from bonnet to rear of truck

Nothing says “Land Rover” like the spare tire mounted on the bonnet. It’s iconic. And I was fine with keeping mine there until I discovered how difficult it was to open up the engine compartment. Something I plan to do almost daily. It was damned heavy. I did it but will I be able to in five years? Or ten?
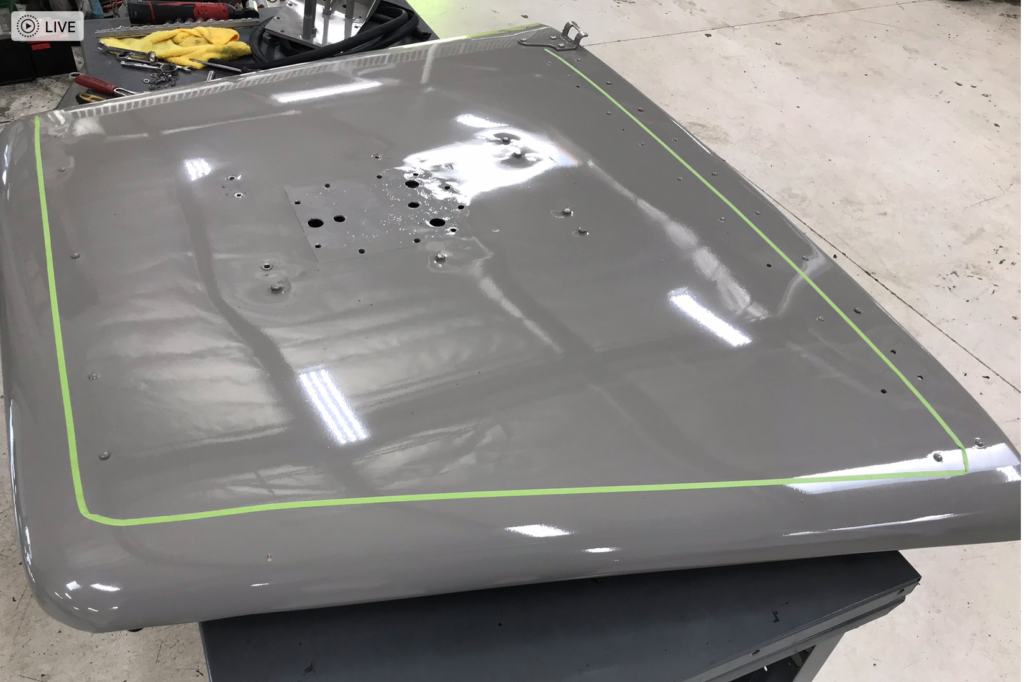
The truck is back in San Diego where the guys at Lucra Cars are taking care of a few things they missed during the restoration, so I’m having them move the spare to a swing-out arm on the rear of the truck.

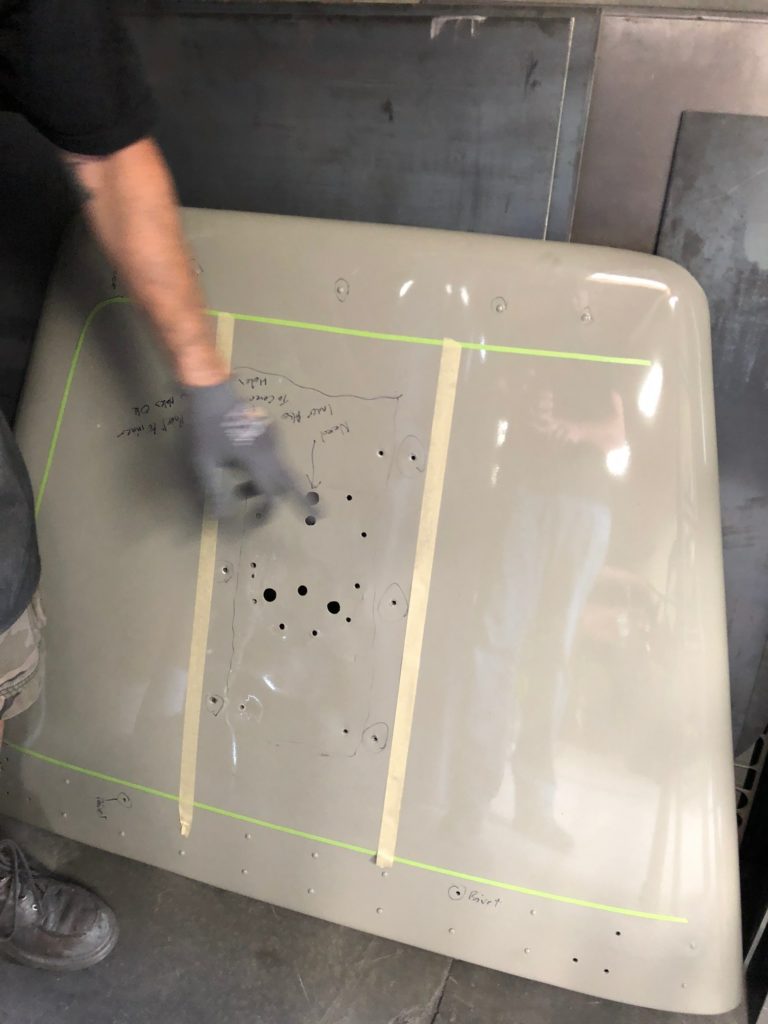
Removing the mounting bracket from the bonnet (what we call the hood) left about 20 holes. A small patch would look like a, well, a patch. So they’re fabricating a piece of aluminum that will cover most of the bonnet. (the green tape)

This will horrify Land Rover purists (sometimes known as “rivet counters”) but I’m going to be happier with the spare on the rear of the truck.